27. October 2020
Paper Rings Wall Art
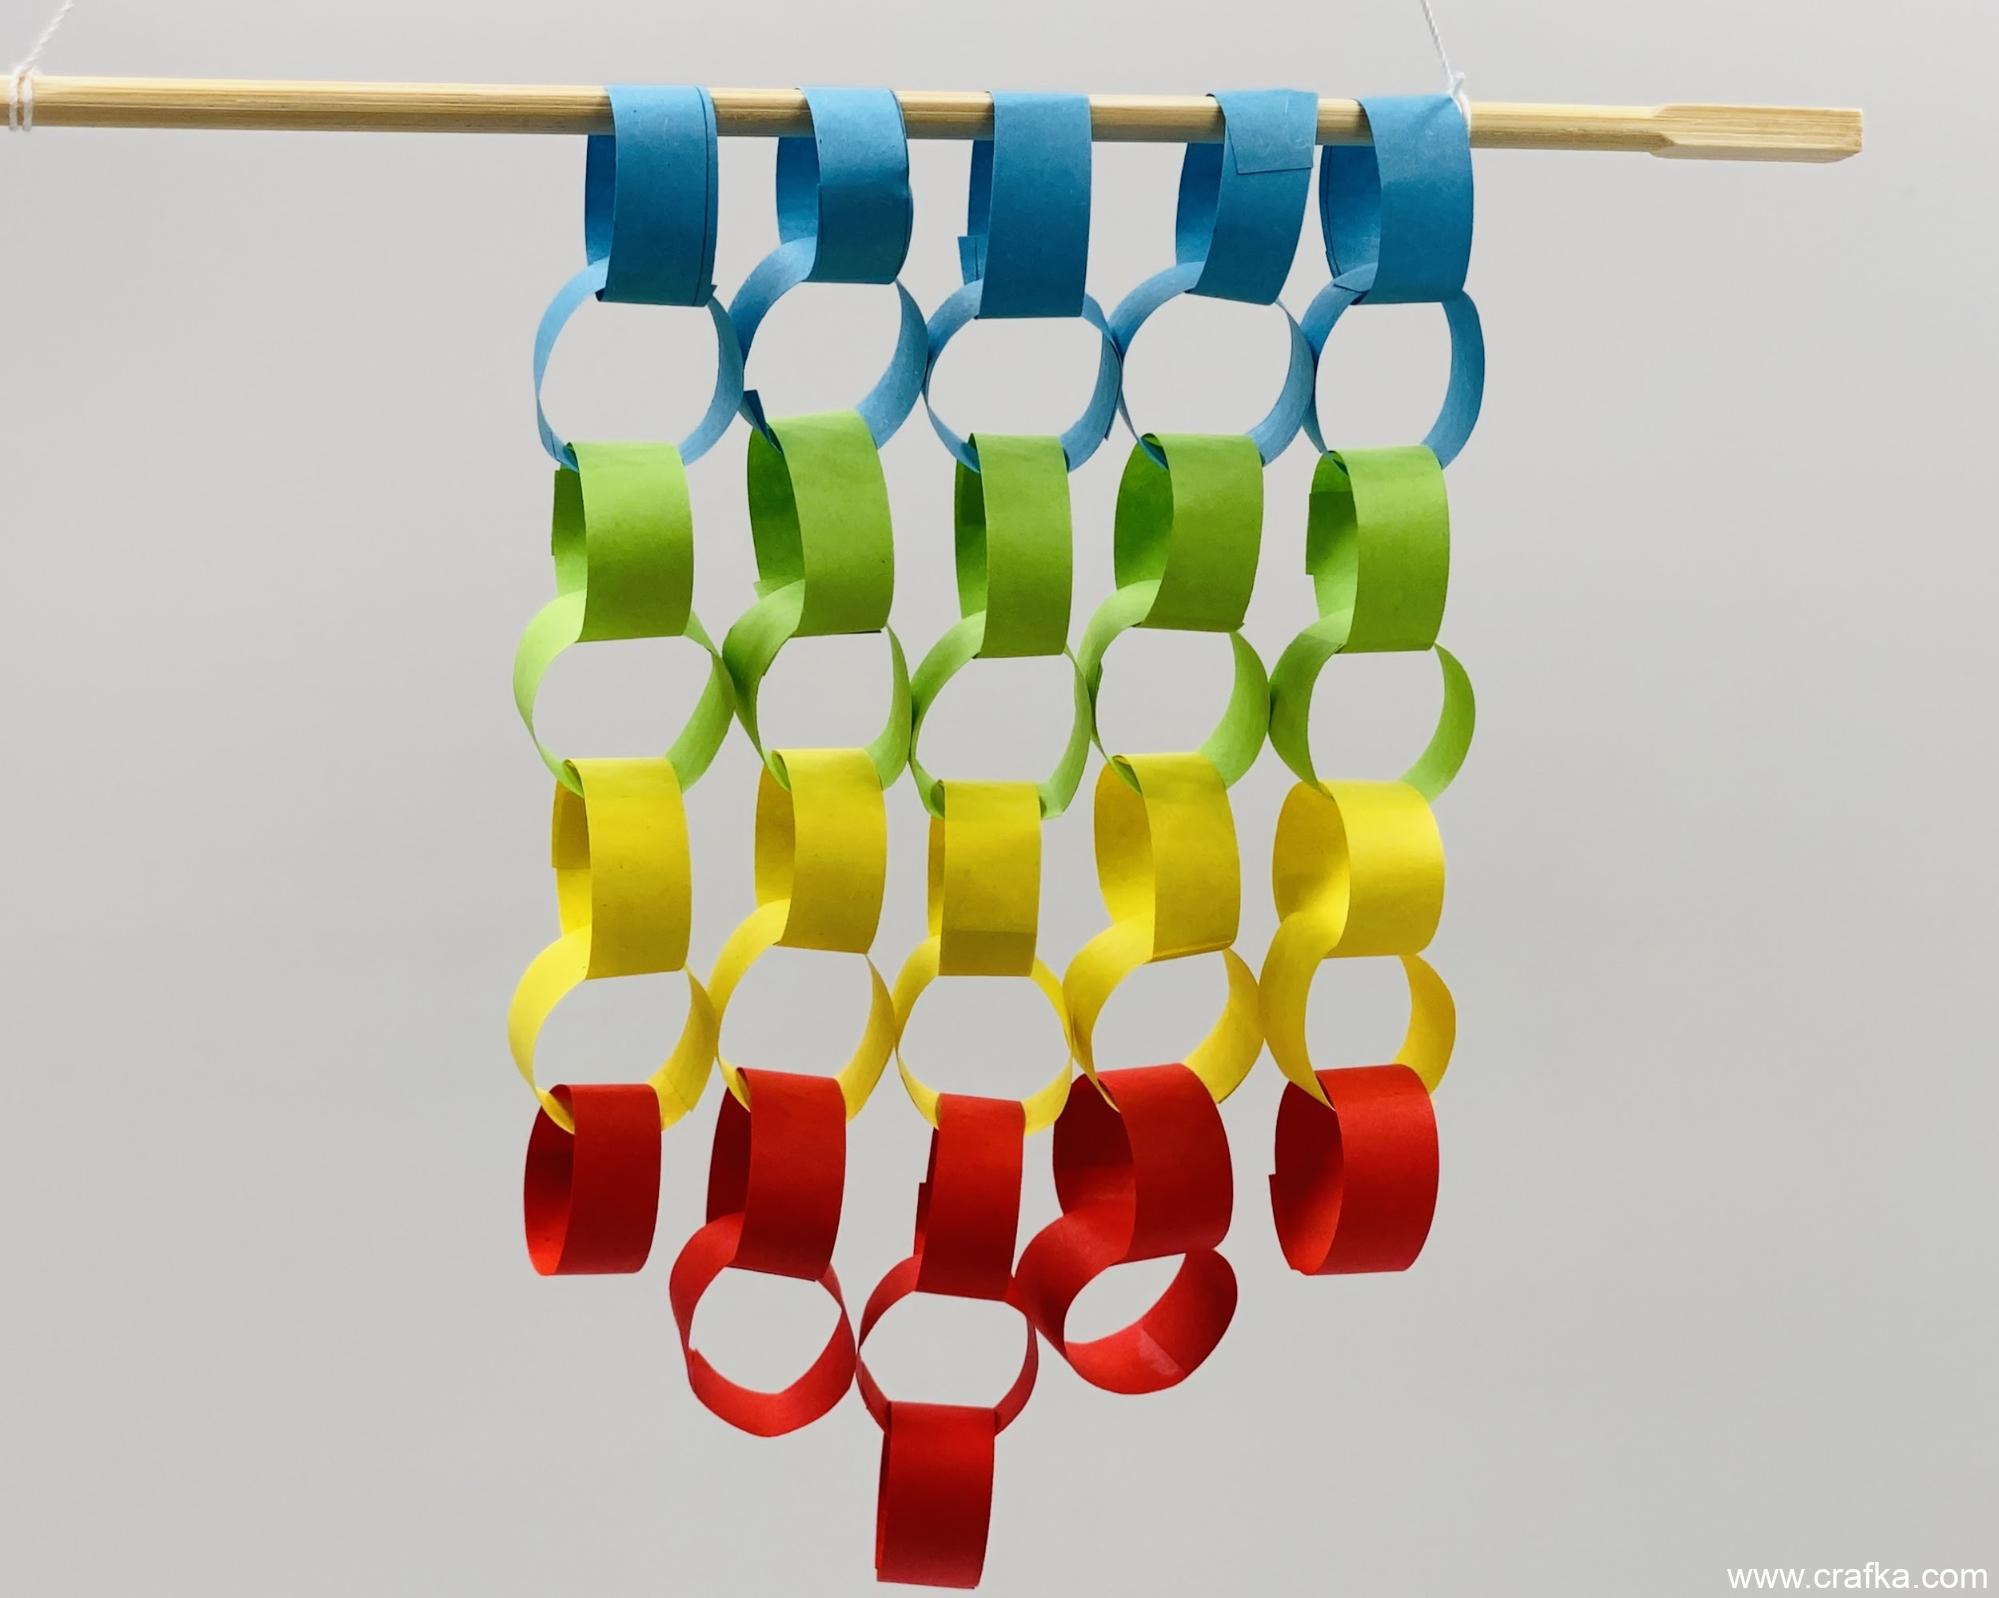
Let’s make something super easy and fun! And the best part is that you can make it in any seasonal colors you’d like. My original project is in summer style, for example.
You’ll need:
- Colored paper (I’ve used 6x6 origami paper)
- Scissors
- Glue (I’ve used stick glue, but you can use any available at home)
- Any available stick for hanging (I’ve used a chopstick from extra wooden chopsticks that we once got from a sushi place)
- A rope or thick thread for hanging
Start with cutting the paper into rectangular pieces. The size of your rectangles will determine the size of your finished work. Usually, if you are making a big project for a big wall - go with big pieces.

Think about the order you will be combining the colors, and whether you’d like your project to have a flat or point-y (as in my example) bottom part. The order of the colors and the bottom part will determine how many rings of each color you’ll need.
When you have your rectangles, glue the opposite sides together making a ring. Make sure to interlock the rings, so you can get a nice colored chain of rings as a result.

When the chains are ready, simply arrange them on the stick. It’ll be up to you if you’d like to glue or not to glue the chais to the stick. Rearrange the chains, play with the length and the colors of your chains.

Finally, using a thick thread or a rope, make two knots on each side of the stick, so you can hang it on the wall.
Whether you know or don’t know how your final project will look - dive into it anyway! And remember to have lots of fun! I’m pretty sure your project will turn out better than you think!
Just to recap:

Please, let us know if you tried it and what you think.